
Do you ever misplace your keys? Lose your phone? Or forget where you parked your car? These are common occurrences that can be frustrating and time-consuming, especially when you’re in a rush. Fortunately, Apple’s newest gadget, the AirTag, may be the solution you’ve been searching for. This small, coin-shaped device can be attached to everyday items and located through the Find My app on your iPhone or iPad.
But have you ever considered sharing an AirTag with someone else? In this blog post, we’ll explore the benefits and limitations of sharing an AirTag, and whether it’s a viable solution for you and your loved ones.
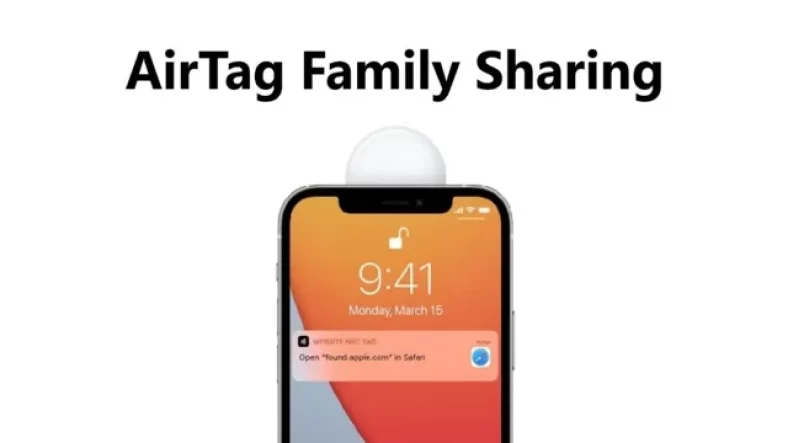
Activate AirTag
If you’ve just purchased a new AirTag and want to know how to share it with your family and friends, it’s a straightforward process that only requires a few taps. First, make sure your AirTag is activated. To do this, hold the AirTag close to your iPhone, and it should automatically prompt you to set up the device.
Alternatively, you can open the Find My app and tap on the “Add New” button to add your AirTag. Once your AirTag is set up, you can choose to share it with friends and family. Tap on your AirTag within the Find My app and select “Share My Location.
” You can then choose which contact you want to share your location with, and they will receive an invitation to share their location with you as well. From there, you and your contact will be able to see the location of the AirTag on a map, making it easy to keep track of your belongings. Overall, sharing your AirTag with family and friends is a simple process that can help you keep track of your belongings and make sure they stay safe.
With just a few taps, you can set up your AirTag and start sharing it with loved ones.
Connect to iPhone
If you’re ready to start using your new AirTag, the first step is to activate it by connecting it to your iPhone. To do this, simply hold your AirTag close to your iPhone and follow the on-screen instructions. You’ll need to have Bluetooth enabled on your phone, but apart from that, the process is straightforward and quick.
Once your AirTag is connected, you can start using it to keep track of your belongings. Whether you attach it to your keys, your backpack, or your luggage, your AirTag will help you locate your items quickly and easily. With its small size and sleek design, you won’t have to worry about it getting in the way or weighing you down.
So why wait? Connect your AirTag today and start enjoying the peace of mind that comes with knowing where your things are at all times.

Sharing Steps
Sharing your Apple AirTag with others is a simple process that can come in handy if you need to keep track of your belongings. To share your AirTag, open the Find My app on your iPhone or iPad and tap on the AirTag you want to share. Then, tap on the “People” tab and select “Share”.
You can choose to share with individuals from your contacts list, or with anyone by sending them an invitation via text message. Additionally, you can select the level of permission you want to grant to the person you’re sharing with. For example, you can allow them to view the location of your AirTag or invite them to receive notifications when it’s found.
Once you’ve selected your preferred sharing settings, simply tap on “Send” and your invite will be sent. By following these simple steps, you can easily share your Apple AirTag with anyone that needs to keep track of your belongings.
Select AirTag on ‘Find My’ app
To share your AirTag with a friend or family member, simply select the AirTag in your ‘Find My’ app and tap on the ‘Share My Location’ option. This will allow the person you want to share the AirTag with to see its location and receive notifications if it is found. You can choose to share the location indefinitely or for a set period of time.
This is a useful feature if you want to lend your AirTag to someone or want someone to keep track of your belongings while you’re away. It’s simple and easy to use, and ensures that your belongings are always secure. So, don’t hesitate to share the location of your AirTag with your loved ones and enjoy the peace of mind that comes with knowing your belongings are safe and sound.
Tap ‘Share’
Sharing content has never been easier, with most apps and operating systems offering a “share” function that allows users to quickly and easily share content. To tap the “share” button, simply find the content you wish to share, whether it’s a photo, video, article, or link, and look for the “share” button. This is often indicated by an arrow pointing up and out of a box or an icon of three connected dots.
Once you tap the “share” button, you will be presented with a list of options for sharing the content, including via email, text message, social media, and other apps. Choose the desired method of sharing, and you’re done! Sharing content is a great way to spread information and connect with others, and with the “share” button, it’s never been easier. So go ahead and tap “share” next time you come across something you’d like to share with others!
Add contact and choose sharing option
When it comes to sharing, adding a contact is often the first step in the process. The good news is that it’s easier than ever to add a contact and choose a sharing option. For example, on most devices, you can simply tap on the plus sign and then select “Add Contact” to begin.
From there, you can enter the person’s name, phone number, and email address to make sure you have all the necessary information. Once you’ve added the contact, you’ll typically have several sharing options to choose from, including email, text message, and social media. Each option has its own pros and cons, so it’s important to choose the one that’s best for your particular situation.
Whether you’re sharing pictures, videos, or just a quick message, adding a contact and choosing a sharing option is the first step to connecting with others in the digital age. So go ahead and get started, and let the sharing begin!
Manage Sharing
Sharing your Apple AirTag is a simple task that can be done through the “Find My” app on your iPhone or iPad. To begin, make sure your AirTag is within range of your device and open the app. Select your AirTag from the list of available items and click on the “Share” button.
Here, you can share your AirTag with friends, family members, or anyone else who needs to keep an eye on your items. You can choose how long you’d like to share your AirTag for, as well as set notifications to alert you when someone else finds one of your items. This feature is especially useful for shared items like car keys or luggage.
Additionally, you can choose to stop sharing your AirTag at any time by simply clicking on the “Stop Sharing” button. Sharing your Apple AirTag is an easy way to keep tabs on your belongings and give others peace of mind as well.
Revoke sharing access
When it comes to sharing files and folders, it’s essential to have complete control over who has access. You may want to revoke sharing access in certain situations, such as when an employee leaves your company or when you no longer need to collaborate with someone. Revoking access is a simple process, and it ensures that your sensitive data remains safe.
Just navigate to the shared item and select “Remove user” or “Remove link” depending on how you shared it. It’s important to note that revoking access doesn’t delete the item; it merely removes the other person’s ability to access it. By regularly reviewing and managing your sharing access, you can ensure that your data is secure and protected from unauthorized access.
Enable/disable notifications
Notifications are an integral part of any sharing app, as they keep us informed about any new activity on the platform. However, there are times when so many notifications flood our phones that they become more of a distraction than a help. In such cases, it’s crucial to have the option to enable or disable notifications according to our preferences.
This feature gives us more control over the app and allows us to stay focused on our work without being distracted by constant notifications. Whether it’s an email, message, or any other kind of activity, we can decide whether we want to be notified about it or not. Enabling notifications for essential tasks and disabling them for non-urgent ones helps us strike the right balance and be more efficient with our time.
So, if you’re someone who values control and wants to stay updated without being constantly distracted, the option to enable/disable notifications is a must-have feature on any sharing app.
Conclusion
Sharing an Apple AirTag is as easy as deciding who gets the last slice of pizza. Just hold the AirTag near your friend’s device and voila! But remember, sharing is caring, so make sure to only share your AirTag with those you trust, or else you might end up tracking down the wrong culprit. It’s like a game of hide and seek, but with technology.
Happy sharing!”
FAQs
What is an Apple AirTag?
Apple AirTag is a small, coin-shaped tracking device that you can attach to items like keys, wallets, backpacks, and more to help locate them using your iPhone, iPad, or other Apple devices.
How do I share my Apple AirTag?
You can share your Apple AirTag with family or friends who also have an Apple device by opening the Find My app, selecting your AirTag, tapping on “Share My Location,” and then selecting the person you wish to share it with.
Can I use an Apple AirTag with an Android device?
No, you cannot use an Apple AirTag with an Android device as it only works with Apple devices running iOS 14.5 or later.
How do I replace the battery in my Apple AirTag?
To replace the battery in your Apple AirTag, push down and twist the back cover counterclockwise to remove it, then insert a new CR2032 battery with the positive side facing up and replace the cover by turning it clockwise until it clicks into place.